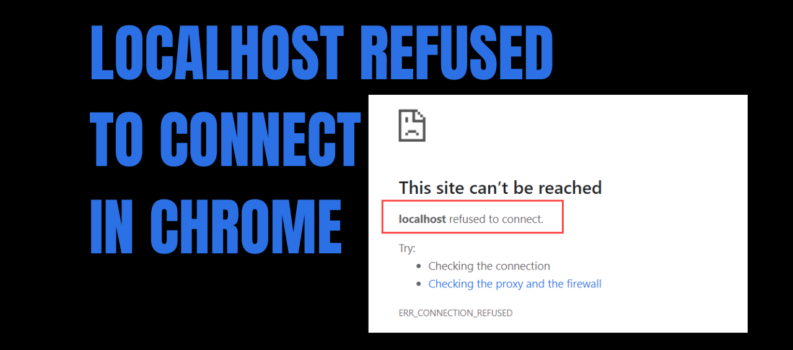
If yoru encounter the localhost refused to connect error message when running any web server on you local computer, then the post is intended to help website owners and administrators fix the issue with the most sufficient solutions
What does it mean when localhost refused to connect?
If you have encountered the localhost refused to connect error message, it simple means you’re unable to access the webserver via localhost. There’s a chance that your firewall may be blocking the connection. You can ofter resolve this problem by modifying your firewall settings to allow incomming connections for teh port that MAMP is trying to access.
The main reasons for this error are likely to be the following:
- Localhost isn’t corresponding to 127.0.0.1.
- Using WSL on Windows to run a web server.
- Port 80 is used by another application on your computer.
- Accessing your web server from a wrong port.
- Insufficient Permissions.
To fix Localhost refused to connect error
If the localhost refused to connect error message appears on your chorome browser. you can try our recommended solutions below in no particular order and see if that helps to resolve the issue.
- Access Localhost via 127.0.0.1
- Access Localhost via Port Number
- Change Apache port in XAMPP
- Change Apache port in WAMP
- Delete application.config File (if applicable)
Now, let’s check out how each solution works by looking at the description of the process.
1] Access Localhost via 127.0.0.1
To fix the problem, first, start the web server using XAMPP or WAMP. then, open you web browser and type 127.0.0.1 and press enter. If this helps and the error goes away, it means your localhost isn’t set up correctly. To access your projects of files, use 127.0.0.1/filename instead of localhost/filename.
2] Access Localhost via Port Number
If your web server is not using the usual port 80, you might see this error. To fix it, just mention the port number. Instead of typing just localhost, type localhost:8080 in your browser.
3] Change Apache port in XAMPP
To switch the port that Apache uses in XAMPP, follow these steps:
To change the Apache running port in XAMPP, do the following:
- Start XAMPP from the Start Menu.
- Double-click the XAMPP icon in the system tray on the taskbar to launch the XAMPP Control Panel.
- In the XAMPP Control Panel Window, you would see a list of services that are currently running i.e Apache, MySQL etc.
- Next to the service name, there would be a Stop button.
- Click on Stop in front of the apache service.
- Next, press Windows key + E to open file explore.
- Now, navigate to the directory below:
C:\xampp\apache\conf
- At the location, look for a file named httpd.conf.
- Next, open the file with a Text Editor.
- Inside the file, search for the following two lines:
Listen 80
ServerName localhost:80
Replace them with the following:
Listen 8080
ServerName localhost:8080- Save the file by pressing CTRL + S.
- Now open the XAMPP Control Panel again, and start the Apache webserver.
The error should be fixed now if the issue was caused by a conflicting port number. Otherwise, try the next solution.
4] Change Apache’s port in WAMP
To modify the port that Apache is using in WAMP, follow these steps:
- Kill all running instances of WAMP in Task Manager.
- Next, open File Explorer.
- Now, navigate to the directory below:
C:\wamp\apache2\conf
- At the location, look for a file named httpd.conf.
- Next, open the file with a Text Editor.
- Inside the file, search for the following two lines:
Listen 80
ServerName localhost:80
Replace them with the following:
Listen 8080
ServerName localhost:8080- Save the file.
Now open WAMP and see if the issue is resolved or not. If the latter is the case, try the next solution.
5] Delete application.config File (if applicable)
To delete the application config file, do the following:
- Open your project folder in File Explorer.
- Next, open up the .vs folder. You may need to show hidden files/folders.
- Once inside the .vs folder, explore the config folder.
- Inside the config folder, delete the application.config file.
- Exit File Explorer.
Why is 127.0 0.1 refused to connect?
When you see “127.0.0.1 refused to connect,” it’s like your computer saying, “I don’t want to talk to myself right now.” This happens when your computer tries to connect to its own web server (a place where websites live), but something is stopping the connection.
Here are list some reasons:
- The web server is not turned on.
- It’s on a different street (port).
- A security wall is blocking.
- A wrong address in your book.
- Old cookies and snacks.
- A security superhero is on duty.
- Network hiccups.
- Speaking the right language.
If you liked this article, then please subscribe to our YouTube Channel for useful videos. You can also find us on Twitter and Facebook.


Write a Reply or Comment